I can hardly believe that Thanksgiving, which is my favorite holiday, is just a week away!!! I know that we are all getting geared up for this holiday, and as we prepare our homes, our meals, and even our waistlines, I wanted to reflect on what this season is all about. For me, it is family! I think that is why I love Thanksgiving so much- family. I, personally, can get caught up in the hustle and bustle of Christmas, but we have always taken it slow and really shared in the fellowship of the season when it comes to Thanksgiving. So as we put the finishing touches on our travel plans, menus, and centerpieces, I wanted to share with you one of my favorite Thanksgiving keepsakes that has become a staple in my decor this time of year. It also makes a really great gift for those family members that you are either traveling to see, or that travel to see you! 😉

You guys know that I am big on art incorporating hand and footprints, so this little treasure is no different featuring the hand and footprints of my little one. I wanted to take you step by step through the process I followed to create this keepsake, and hopefully give you a little inspiration for your own Thanksgiving keepsakes. It really is simple, and can easily be knocked out in an afternoon! For those of you with kiddos who are on break from school next week, maybe this will give you an idea of what to do on those days leading up to Thanksgiving?!?! Before you get started, here is what you will need to make this Thanksgiving keepsake plate.
- A ceramic plate. I love these square ones that I got at WalMart for a steal! You can do either the salad plate or the dinner plate
- Acrylic paint in brown, red, orange, yellow, black and white

- Paint brushes and sponges
- Sharpie markers in brown and orange
- Your oven
- A clear sealant spray
- Patience and maybe some fun holiday music to lighten the mood! 😉

Okay, you have your supplies, and you are ready to create a keepsake and/or present that will be treasured for years to come! Here are the simple steps, and some tips that I follow to get the most out of my art session:
- I preheat the oven to 250 degrees, and prep the plate for the artwork. Simply make sure that the plate is clean and dry, and remove any stickers that may be on the back of the plate. Speaking of the back of the plate, I like to commemorate the child’s name and their age on the back. If it is their first time celebrating the holiday, like it was for T when I made this plate last year, I note that as well. For instance, the back of your plate may read:
- Baby’s 1st Thanksgiving
- November 26, 2015
- 6 months old
- Now that your plate is prepped, it’s time to prep your child! Since we are using acrylic paint for this project, I would either make sure that your child is in his or her diaper only, or in some clothes that you don’t mind getting paint (that will not wash out) on them.
- For the turkey art, I like to start with the hands/feathers. I have found that it is easier to start with the darker colors, and then later from there. I start with red, then do orange, and finish up with yellow. Simply paint your child’s hand in the color, and make handprints in an arc shape to be the turkey’s feathers.
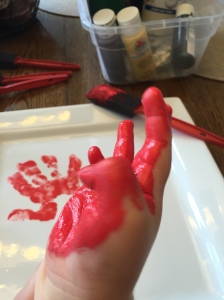
- I do three to four of each color. DISCLAIMER: Doing handprints can be hard, especially with younger little ones. Be patient, and if you “mess” up embrace it as part of the art. I promise you will look back and love the “smeared” handprints because they will be a reminder of how wiggly and squirmy your little one is at that age. If you are totally type A, like me, and cannot handle the smudges, here’s a good tip… Acrylic paint dries VERY quickly, and can easily be scratched off the ceramic plate. Good to know if you want to scratch away some of the smudges. After you are done with one color, move on to the next until you have done all three.

- Now that the feathers are on, I like to do the body of the turkey using your little one’s footprint. Paint the bottom of your child’s foot brown, and stamp it in the middle of your feathers, I mean, hands! You will want the heel of your child’s foot to be the top of the head, while the toes are the bottom of the turkey. Make sure you turn your plate accordingly!


- Now that you are done with the body and the feathers of the turkey, you will want to add your written portion at the bottom of the plate while the paint dries. I wrote “Give Thanks” with orange and brown sharpies, but feel free to write whatever you would like. Give Thanks, Happy Thanksgiving, Gather, etc. would all be amazing on the plate. It is truly your preference, and it will look amazing no matter what you do!

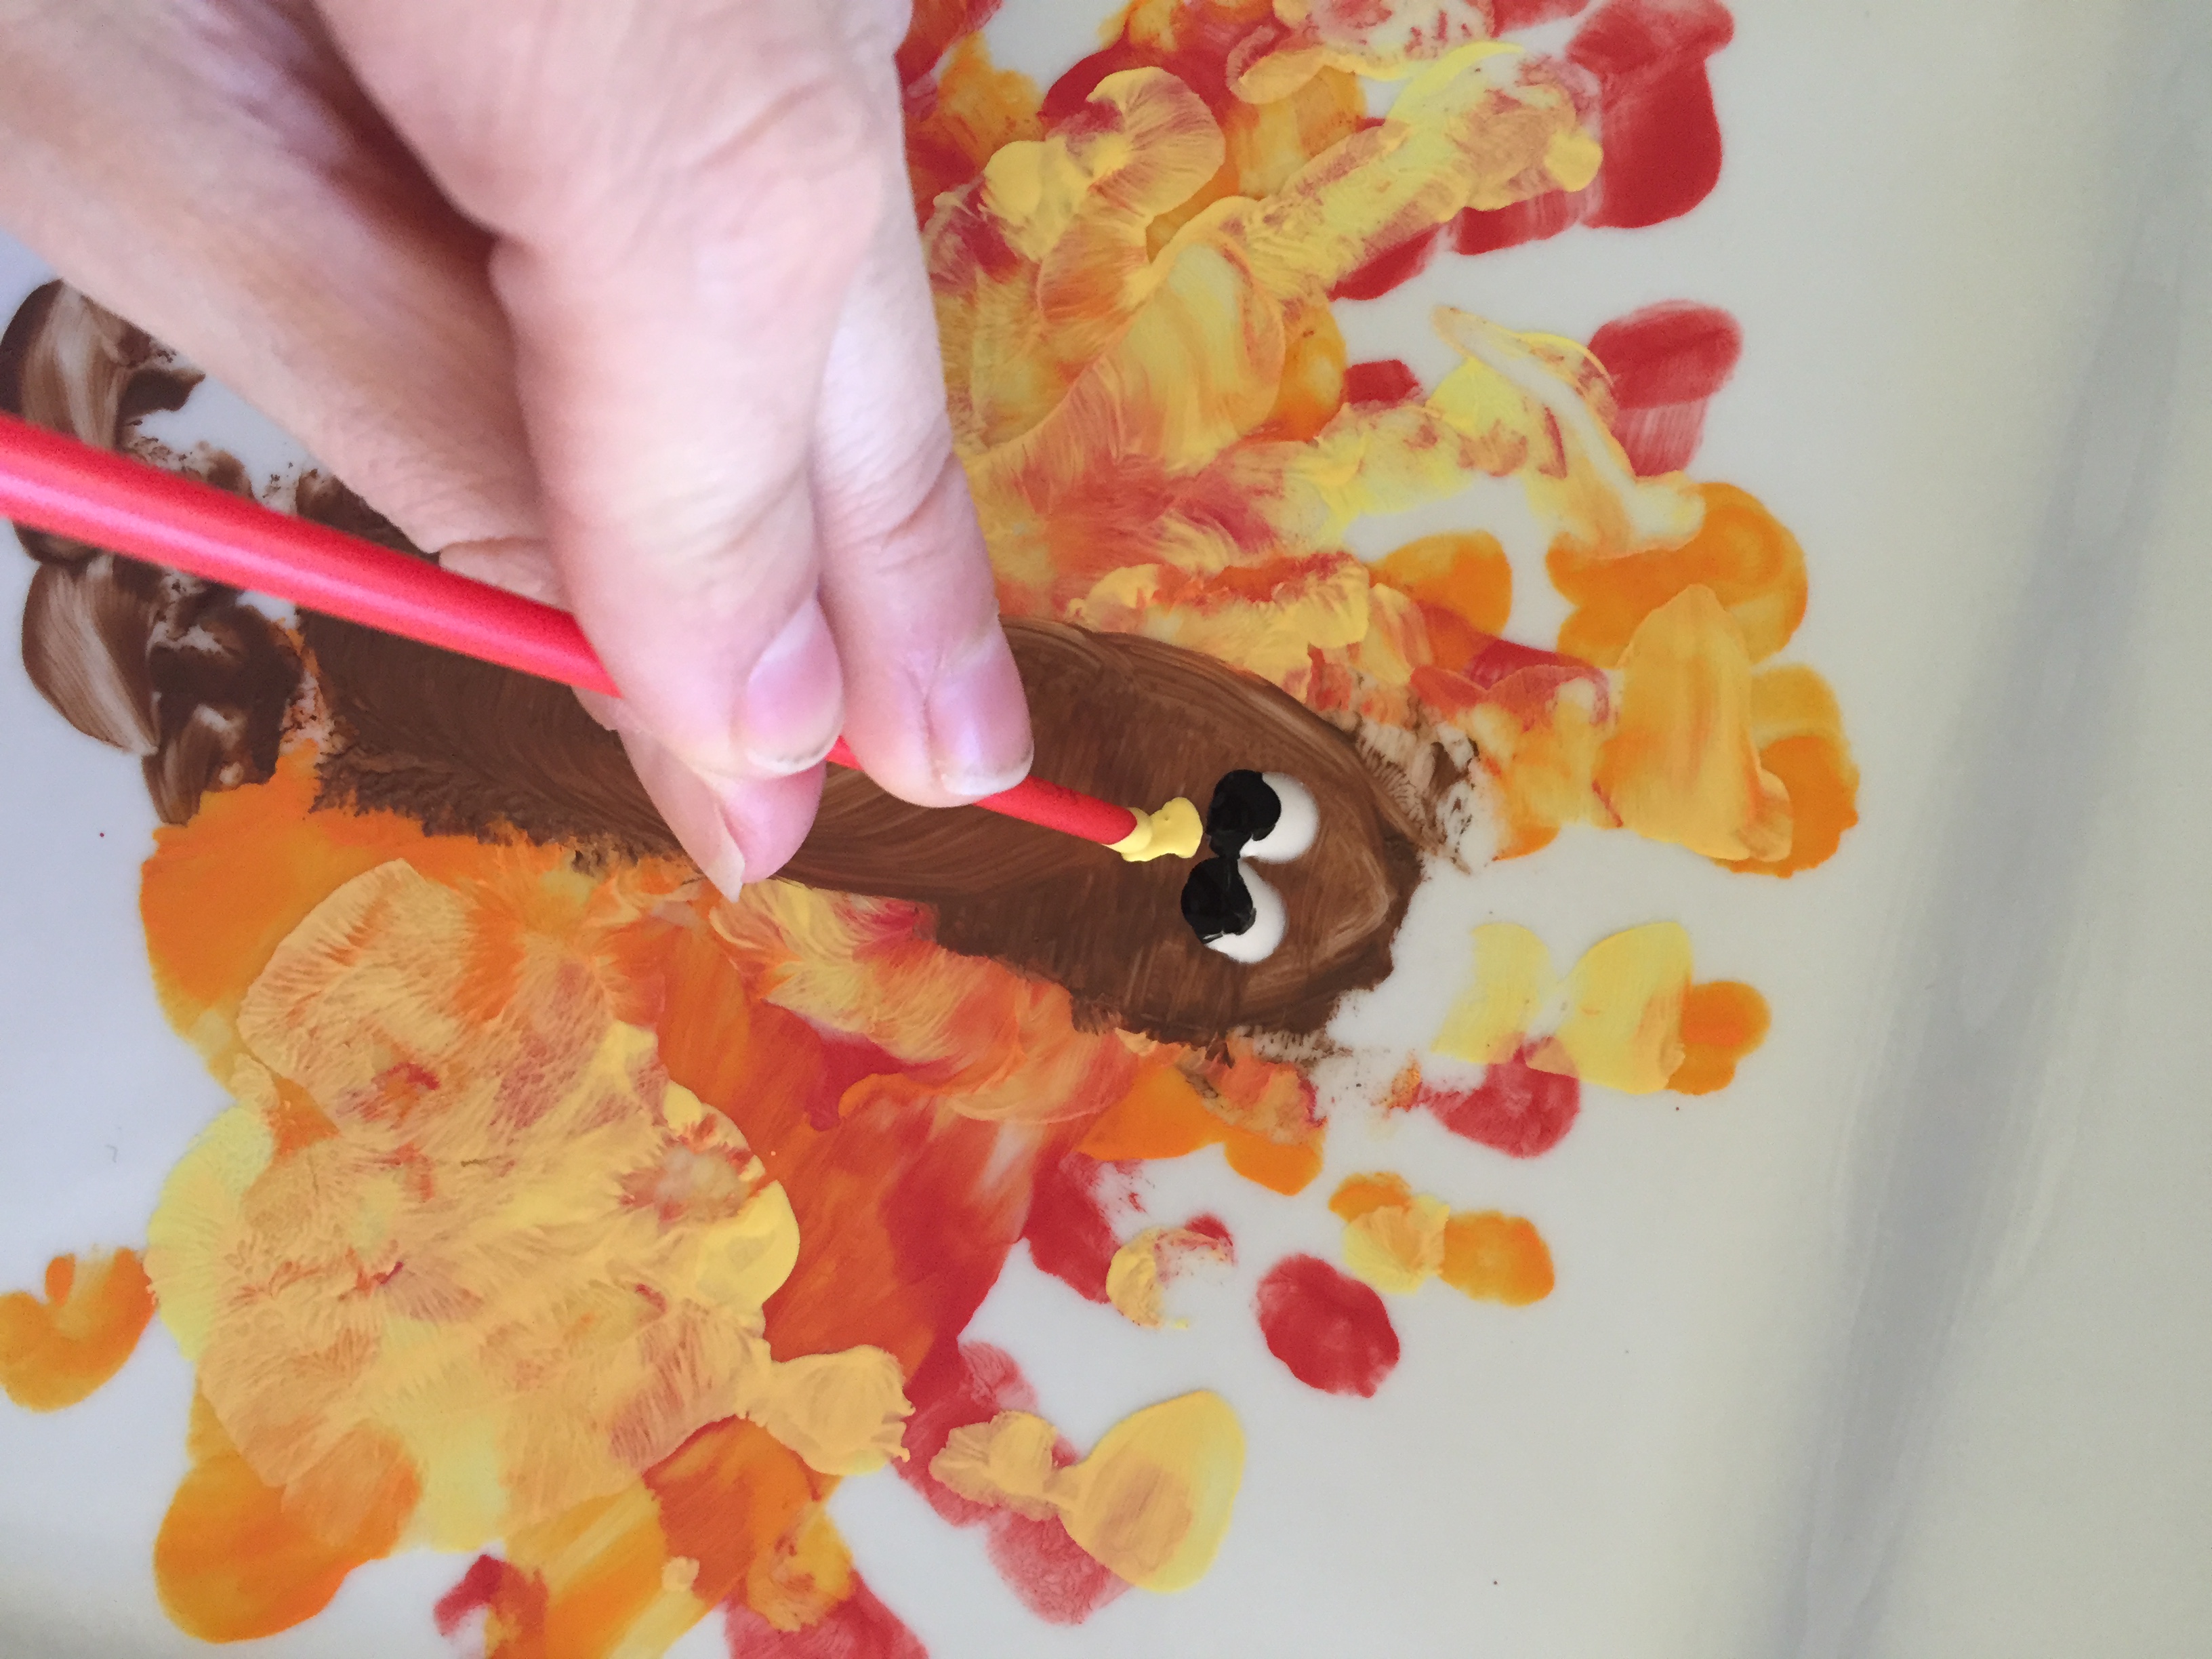
- Once the paint has had a chance to dry, I go back in and add the details! Using the back of the paint brush, I do the eyes.


- You can then add the beak and red turkey gobble!
- Now, your plate is ready to bake, Bake in the preheated oven for 30 minutes. This will make the Sharpie marker permanent, and it will not wash off!
- Unfortunately the paint will wash off, so that is where the clear sealent comes into play. Follow the directions on the can, and get at least two coats on to ensure that your precious keepsake is well-preserved!

- You did it! You now have a Thanksgiving keepsake that you will enjoy for years to come. It also makes a wonderful present for any host or hostess, and is a HIT with grandparents! 😉
In case you want some other ideas of Thanksgiving keepsakes and crafts to do next week while the kids are out of school, or even with all of your nieces, nephews, etc. while they are in town, I am including some pictures of some of my other favorite projects that I have done over the years. They are all pretty easy (in my opinon), but I’m always here to help!


(Yes, these are footprints!!! I think it turned out pretty awesome if I do say so myself!)
You have made it to the end of this rather long, and I am thankful for you for following along. To show my gratitude for not only reading and sharing in this journey with me, I am doing a GIVEAWAY!!! I sell Rodan+Fields on the side, and I will be giving away one of my favorite bundles perfect for moms- the eye cloths and eye cream!!! The eye cloths can be used to take make up off of your entire face and help with anti-aging because they are infused with peptides. Too tired to wash your face, just use the cloths and you are good to go. The eye cream is literally my favorite product!!! It helps with fine lines and wrinkles, puffiness, and dark circles. Up late with the kids, no one will ever know!!! Here’s how to get your name entered into the drawing for this great giveaway valued at over $100!!!
- For every person who comments on my post on Facebook, you will be entered into the drawing once.
- Every person who comments on my actual blog at Word Press will be entered into the drawing again.
- Every person who shares my blog through Facebook or any social media site will be entered into the drawing twice!!!
- So, you have a chance to be entered into the drawing at least FOUR times!!! Make sure you tag me when you share through social media so you will get credit.
I am thankful for you for following along, and I hope that you all have a wonderful Thanksgiving!!!!
~Stephanie
